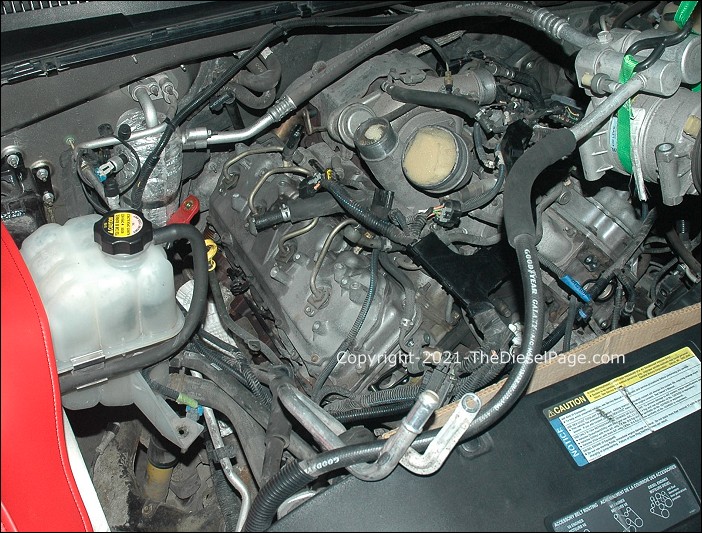
5/31/2021: Well, I'm into it. Pulled the truck into the cleaned-out garage yesterday, and began the dis-assembly. A lot of prep work had to be done before hand...
In the meantime... Update 8/7/2024...
This video is an introduction to Duramax 6600 diesel service - and is the first in a series that will eventually show how to do what's necessary to complete a fuel injector replacement, cylinder head gasket replacement, water pump replacement and much more. But first, let's talk about what tools, tips and supplies you'll need to do the work in the best way possible.
If you're interested in learning more about Duramax 6600 service and repair, then the introductory YouTube video shown here would be the best place to begin. We've helped thousands of Duramax owners with their own service work through the years. We can help you too.
Can't wait for the video series to be complete? Would you rather have a complete printed Duramax Diesel Service Guide now?
See: https://www.thedieselpage.com/durama...rviceguide.htm
Our YouTube channel is new, but its growth will help us to provide so much more - at no cost to you.
You can help! Please subscribe to our Youtube channel - just run your mouse cursor over the little circle truck image in the upper left of the video image shown here. Please Like and Subscribe, and post your comments on YouTube.
I recommend that you create a YouTube account if you don't already have a Youtube account. It's easy and free to register at YouTube.com, plus you'll be eligible for free stuff here in The Diesel Page before long. Soon, we'll begin offering all member-only online content here at TDP free of charge to those who are subscribed to our YouTube channel. Your YouTube account name will be linked to the free access list.
Subscribing to TDP's bulletin board forum and our YouTube channel will ensure you don't miss any new videos. As always, your input, suggestions and advice are all important.
Lastly... The most recent video in this Service Guide video series has been posted near the end of this thread titled: No Fail - LB7 Duramax 6600 Injector Replacement. Have a look!


 Reply With Quote


 ). Unfortunately, without taking it apart there's no way to tell if the excessive pressure is due to a bad gasket or a cup seal leak.


